Ragnarok Journey – How to beat Dark Lord Chiyo

My notes for playing Ragnarok Journey :

we have to beat Dark Lord Chiyo, part of Hunter Job Level 83 Quest,

My current Char stat didn’t strong enough to handle him

I have tried playing around with cards.

Increasing Flee Stat by +20 with Nine tail card? Not helping

20% damaged decreased from neutral attack with Rayric card? Not helping

Chiyo is Darkness element , ISIS card didn’t help either

THE POTENT SOLUTION IS : You need to buy LOTS of Large Red Potion

And it’s over within 2 minutes 🙂 hehehehehe

reference:

https://forums.warpportal.com/index.php?/topic/211010-dark-lord-chiyo/


Connecting to campus network using OpenVPN in IOS

  1. Download openvpn connect from appstore
  2. Download openvpn config. This step is a bit tricky. You need to create email draft with openvpn config attachment in it and save the draft. You need to do this step at your pc. Next you can find the draft from your favourite email app in your iPhone 
  3. Double tap the openvpn config and open it with openvpn app
  4. Fill in your user name and password 
  5. Click connect. Voila..Done

Huawei Mediapad S7-301u – Partition List

root@android:/proc # cat partitions
cat partitions
major minor #blocks name

179 0 7815168 mmcblk0
179 1 32768 mmcblk0p1
179 2 4096 mmcblk0p2
179 3 4096 mmcblk0p3
179 4 1 mmcblk0p4
179 5 12288 mmcblk0p5
179 6 4096 mmcblk0p6
179 7 4096 mmcblk0p7
179 8 4096 mmcblk0p8
179 9 4096 mmcblk0p9
179 10 12288 mmcblk0p10
179 11 4096 mmcblk0p11
179 12 4096 mmcblk0p12
179 13 4096 mmcblk0p13
179 14 4096 mmcblk0p14
179 15 655360 mmcblk0p15
179 16 8192 mmcblk0p16
179 17 16384 mmcblk0p17
179 18 16384 mmcblk0p18
179 19 12288 mmcblk0p19
179 20 393216 mmcblk0p20
179 21 8192 mmcblk0p21
179 22 262144 mmcblk0p22
179 23 32768 mmcblk0p23
179 24 114688 mmcblk0p24
179 25 4096 mmcblk0p25
179 26 8192 mmcblk0p26
179 27 6179840 mmcblk0p27
179 64 512 mmcblk0boot1
179 32 512 mmcblk0boot0
179 96 15637504 mmcblk1
179 97 10450251 mmcblk1p1
179 98 4739175 mmcblk1p2
179 99 441787 mmcblk1p3
root@android:/proc #

root@android:/proc # mount
mount
rootfs / rootfs ro,noatime 0 0
tmpfs /dev tmpfs rw,nosuid,noatime,mode=755 0 0
devpts /dev/pts devpts rw,noatime,mode=600 0 0
proc /proc proc rw,noatime 0 0
sysfs /sys sysfs rw,noatime 0 0
none /acct cgroup rw,noatime,freezer,cpuacct,cpu 0 0
tmpfs /mnt/asec tmpfs rw,noatime,mode=755,gid=1000 0 0
tmpfs /mnt/obb tmpfs rw,noatime,mode=755,gid=1000 0 0
/dev/block/mmcblk0p21 /persist ext4 rw,nosuid,nodev,noatime,user_xattr,acl,barri
er=1,data=ordered 0 0
/dev/block/mmcblk0p15 /cust ext4 ro,noatime,user_xattr,acl,barrier=1,data=ordere
d 0 0
/dev/block/mmcblk0p20 /system ext4 ro,noatime,user_xattr,acl,barrier=1,data=orde
red 0 0
/dev/block/mmcblk0p23 /tmpdata ext4 rw,nosuid,nodev,noatime,user_xattr,acl,barri
er=1,data=ordered,noauto_da_alloc 0 0
/dev/block/mmcblk0p22 /cache ext4 rw,nosuid,nodev,noatime,user_xattr,acl,barrier
=1,data=ordered 0 0
/dev/block/mmcblk0p27 /data ext4 rw,nosuid,nodev,noatime,user_xattr,acl,commit=1
5,barrier=1,nodelalloc,data=ordered,noauto_da_alloc 0 0
/dev/block/mmcblk0p24 /tombstones ext4 rw,nosuid,nodev,relatime,user_xattr,acl,b
arrier=1,data=ordered 0 0
/dev/block/mmcblk0p1 /firmware vfat ro,relatime,fmask=0000,dmask=0022,codepage=c
p437,iocharset=iso8859-1,shortname=lower,errors=remount-ro 0 0
/dev/fuse /mnt/sdcard fuse rw,nosuid,nodev,noexec,relatime,user_id=1000,group_id
=1015,default_permissions,allow_other 0 0
debugfs /sys/kernel/debug debugfs rw,relatime 0 0
/dev/block/vold/179:97 /mnt/sdcard2 vfat rw,noexec,noatime,uid=1000,gid=1015,fma
sk=0702,dmask=0702,allow_utime=0020,codepage=cp437,iocharset=iso8859-1,shortname
=mixed,utf8,errors=remount-ro 0 0
root@android:/proc #

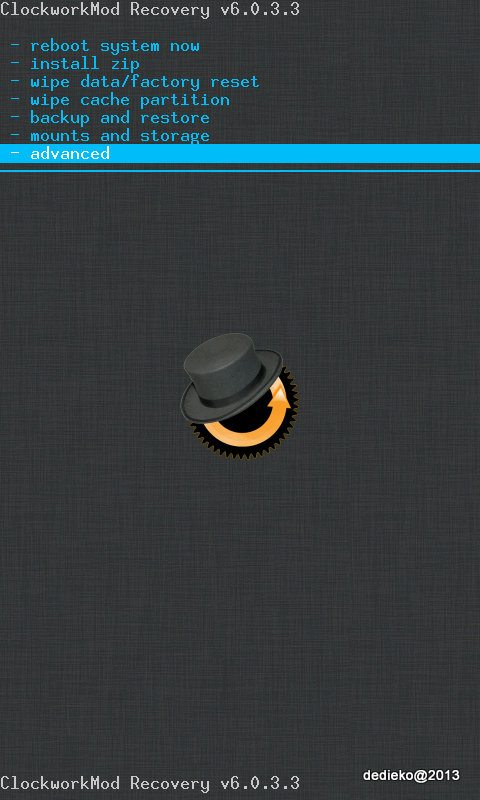
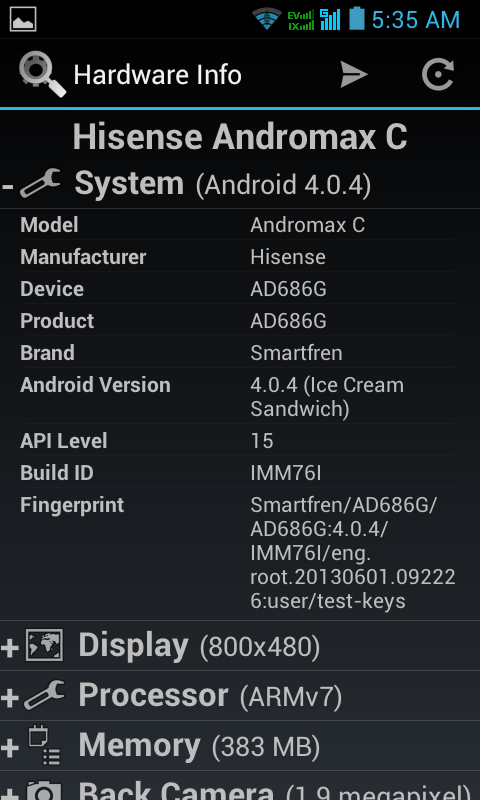
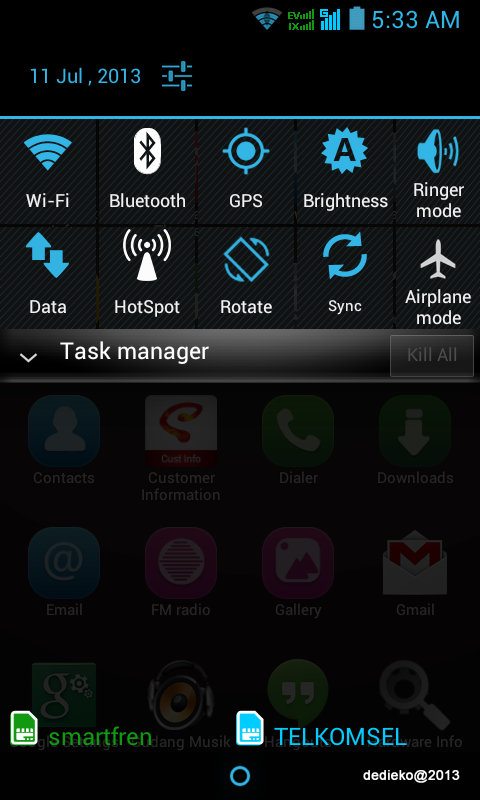
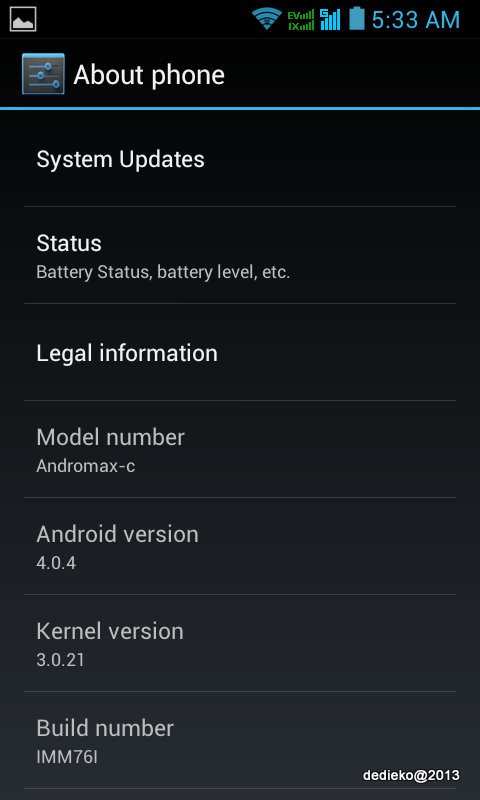
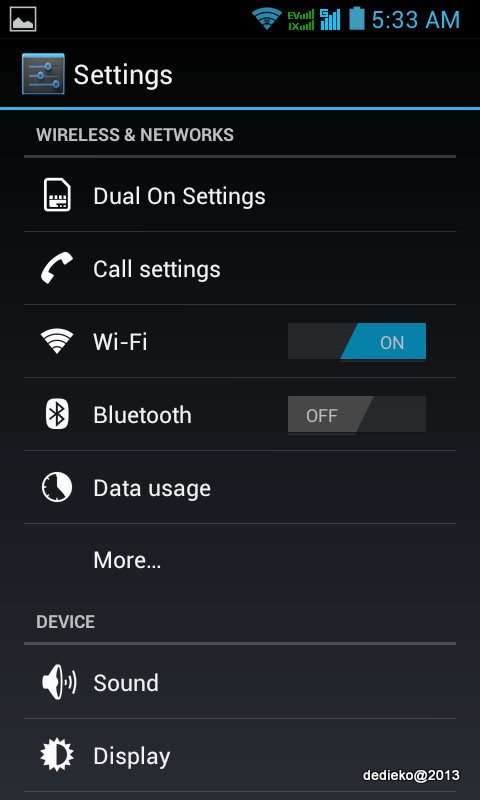
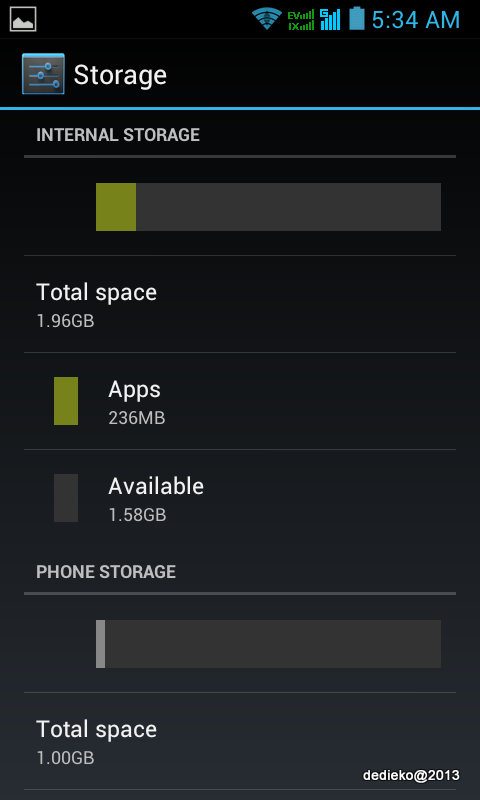
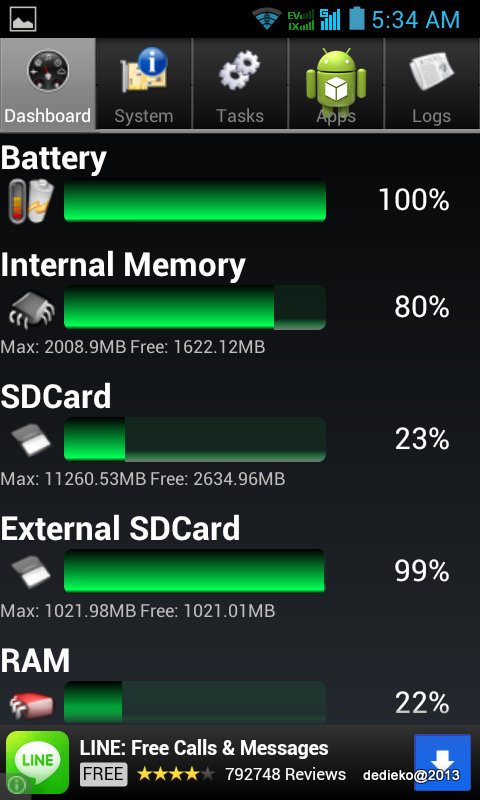
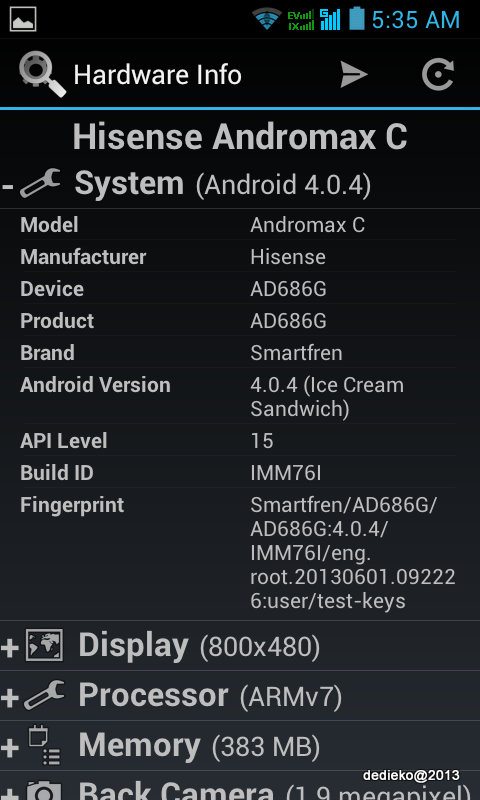
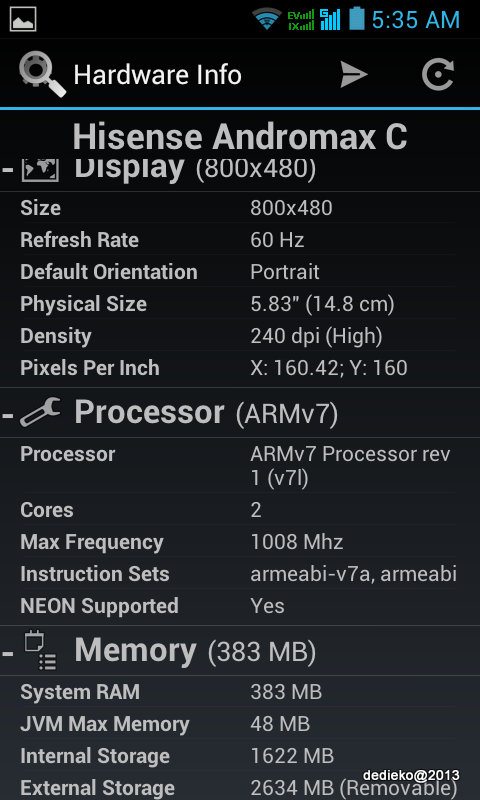
Smartfren Andromax C : Partition List

root@android:/proc # cat /proc/emmc_partition
cat /proc/emmc_partition
dev: start size name
mmcblk0p1: 00000001 00000040 “cfg_data”
mmcblk0p2: 00000041 00000600 “qcsbl”
mmcblk0p3: 00000641 00081920 “modem”
mmcblk0p4: 00082561 07732607 “ebr”
mmcblk0p5: 00131072 00004000 “oemsbl”
mmcblk0p6: 00135072 00002000 “appsboot”
mmcblk0p7: 00137072 00004000 “ssd”
mmcblk0p8: 00141072 00018480 “boot”
mmcblk0p9: 00159552 00006144 “modem_backup”
mmcblk0p10: 00165696 00006144 “modem_st1”
mmcblk0p11: 00171840 00006144 “modem_st2”
mmcblk0p12: 00177984 00800000 “system”
mmcblk0p13: 00977984 04180000 “userdata”
mmcblk0p14: 05157984 00040960 “persist”
mmcblk0p15: 05198944 00120000 “cache”
mmcblk0p16: 05318944 00020480 “recovery”
mmcblk0p17: 05339424 00002000 “misc”
mmcblk0p18: 05341424 02097152 “mdm”
mmcblk0p19: 07438576 00060000 “cdrom”
mmcblk0p20: 07498576 00004000 “”
mmcblk0p21: 07502576 00312591 “tombstones”
root@android:/proc #
How to Spot & Solving IO Bottleneck problem in Vmware Server 2.x with SSD HDD

In this article, I will try to point my solution for solving IO Bottleneck in Vmware Server 2.x

Firstly, why use virtual solution in the first place? Well there are many subjective reasons, and but for me my main reason is Electrical Consumption. Running multiple guest OS under the same physical Server will greatly reduce electrical consumption. At the moment, our server ( AMD X6 with 8GB RAM) are hosting 10 Guest OS : 3 pfsense, 5 ubuntu server, 1 IPCOP, 1 Windows XP. I can save up to 90 %.

Some of my friend ask me, there is gonna be performance hit by running virtualization. Of course there is, but, in real world application, it’s very rare to see your server running in 100% utilization, since most of the time, it’s doing idle/nothing. Performance hits can be spotted when it start to slow down / under perform, most of it are caused by bottleneck in CPU/Memory/IO or hardware problem.

How to Spot Bottleneck :

If you run vmware server under linux, you can use TOP command to monitor server load. Here is an example:

root@vmserver002:~# top
top – 11:06:56 up 5 days, 8 min, 2 users, load average: 1.42, 1.75, 1.70
Tasks: 244 total, 1 running, 243 sleeping, 0 stopped, 0 zombie
Cpu(s): 2.9%us, 15.7%sy, 0.0%ni, 80.6%id, 0.3%wa, 0.1%hi, 0.4%si, 0.0%st

Mem: 8193488k total, 8118824k used, 74664k free, 38152k buffers
Swap: 0k total, 0k used, 0k free, 6919920k cached
PID USER PR NI VIRT RES SHR S %CPU %MEM TIME+ COMMAND

3995 root 20 0 1270m 56m 39m S 54 0.7 1772:31 vmware-vmx
3427 root 20 0 697m 251m 236m S 21 3.1 1167:04 vmware-vmx

3434 root 20 0 559m 66m 52m S 17 0.8 1739:46 vmware-vmx
4726 root 20 0 697m 205m 191m S 13 2.6 763:06.36 vmware-vmx

3443 root 20 0 707m 140m 118m S 8 1.8 304:12.98 vmware-vmx
3927 root 20 0 972m 63m 48m S 8 0.8 205:20.49 vmware-vmx

3957 root 20 0 558m 18m 6860 S 8 0.2 654:20.00 vmware-vmx
4734 root 20 0 843m 342m 320m S 8 4.3 267:09.66 vmware-vmx

4626 root 20 0 432m 129m 106m S 6 1.6 218:49.46 vmware-vmx
3492 root 20 0 706m 83m 60m S 4 1.0 184:30.86 vmware-vmx

3284 root 20 0 139m 54m 12m S 2 0.7 53:59.05 vmware-hostd
3440 root 20 0 0 0 0 S 2 0.0 62:27.59 vmware-rtc

As you can see, I run 10 guest OS, and the CPU load are +- 20% (80% are idle). And this is a production server, not testing server.

Cpu(s): 2.9%us, 15.7%sy, 0.0%ni, 80.6%id, 0.3%wa, 0.1%hi, 0.4%si, 0.0%st

legend:

us : % CPU used for user space application
sy : % CPU used for system space application
ni : % CPU used for application with nice attribute
id : % CPU not used / IDLE
wa : % CPU in waiting due to bottleneck in IO

Pay attention to the "wa" attribute. When I use regular IDE/SATA HDD, the "%wa" is most of the time reach double digit and the total of "%us" + "%sy" is hardly ever reach 10%, that means, my server is under IO bottleneck. Ever since I switch to SSD HDD, which are pretty cheap nowadays, "%wa" is always very low, just around 4-5% at peak load (at system boot or when starting guest OS simultaneously.

So, upgrade your hard drive to SSD. Your system may reside at the old IDE/SATA hard disk, but make sure the storage for guest OS are reside in the SSD HDD. Also consider investing in main board with SATA 3 / SATA 6 port. My main board is still SATA 3, with both the main HDD and SSD HDD are in the same controller, and it’s not a real issue.